instructions for cuisinart ice cream maker

The Cuisinart Ice Cream Maker simplifies homemade ice cream creation‚ offering a must-have appliance for ice cream enthusiasts․ It allows users to craft customizable‚ delicious flavors effortlessly‚ making it a perfect tool for both beginners and experienced makers․
Overview of the Cuisinart Ice Cream Maker
The Cuisinart Ice Cream Maker is a popular kitchen appliance designed to simplify the process of making homemade ice cream․ It features a pre-freezer bowl that eliminates the need for ice‚ automatic churning‚ and a user-friendly design․ The machine is ideal for both novices and experienced ice cream enthusiasts‚ offering a quick and efficient way to create customizable flavors․ By following the instructions‚ users can achieve professional-quality results with minimal effort․ Its compact design and easy operation make it a versatile addition to any home kitchen‚ perfect for crafting delicious treats year-round․
Key Features and Benefits
The Cuisinart Ice Cream Maker boasts a range of key features that make it a standout appliance․ Its automatic churning function ensures consistent results‚ while the pre-freezer bowl eliminates the need for ice‚ saving time and effort․ The machine’s compact design and easy-to-use interface make it accessible for all skill levels․ Additionally‚ the included mixing paddle and recipe booklet provide endless customization options․ These features combined offer a convenient‚ efficient‚ and enjoyable way to create high-quality ice cream at home‚ making it a valuable addition to any kitchen․
Importance of Following Instructions
Adhering to the Cuisinart Ice Cream Maker’s instructions ensures optimal performance‚ safety‚ and desired results․ Proper preparation‚ such as pre-freezing the bowl and chilling the mixture‚ is crucial for achieving the perfect consistency․ Deviating from guidelines can lead to issues like runny ice cream or machine malfunction․ Following steps like assembly‚ pouring‚ and monitoring churning time guarantees smooth operation․ Ignoring safety precautions‚ such as avoiding heat exposure or improper cleaning‚ may damage the appliance or pose risks․ By adhering to instructions‚ users can enjoy consistent‚ high-quality ice cream while maintaining the longevity of their machine․

Preparation Steps Before Churning
Freezing the bowl for 16-24 hours‚ chilling the mixture‚ and assembling the machine are essential steps to ensure proper operation and achieve the desired ice cream consistency․
Freezing the Bowl
Freezing the bowl is a crucial first step․ Place the bowl in the freezer for 16 to 24 hours to ensure it’s completely frozen․ Shake the bowl gently; if no liquid sound is heard‚ it’s ready․ This step ensures proper churning and prevents ice crystals from forming․ Always store the bowl in the freezer after use to maintain its readiness for future batches․ Proper freezing is essential for achieving smooth‚ creamy ice cream texture․ Consistency starts with a well-frozen bowl‚ so plan ahead to freeze it overnight or throughout the day․
Chilling the Mixture
Chilling the mixture is essential for optimal consistency․ Refrigerate your ice cream base for at least 2 hours or overnight to ensure all ingredients are thoroughly cold․ This step prevents ice crystals from forming during churning‚ resulting in a smoother texture․ Make sure the mixture is chilled before pouring it into the frozen bowl․ Proper chilling also helps the machine work efficiently‚ ensuring the best results․ For ideal performance‚ keep the mixture cold but not frozen․ A well-chilled mixture guarantees a creamy and even finish to your homemade ice cream․
Assembling the Machine
Assembling the Cuisinart Ice Cream Maker is straightforward․ First‚ ensure all components are washed and dried․ Place the chilled freezer bowl onto the base‚ aligning it properly․ Secure the bowl with the locking ring to maintain stability․ Next‚ attach the mixing paddle to the top of the bowl․ Finally‚ place the transparent lid on top to prevent splashing․ Double-check that all parts are securely fitted to ensure smooth operation․ Proper assembly is crucial for efficient churning and to avoid any leaks or issues during the process․ Follow the manufacturer’s guidelines for correct alignment and fitting of each part․
The Churning Process
Turn on the machine‚ pour the chilled mixture into the freezer bowl‚ and let it churn for 15-20 minutes․ The paddle will mix and aerate the mixture‚ transforming it into a smooth‚ creamy texture․ Avoid over-churning‚ as it can lead to an icy consistency․ Once the desired consistency is reached‚ stop the machine and transfer the ice cream to an airtight container for freezing․
Pouring the Mixture into the Maker
Ensure the freezer bowl is fully frozen‚ typically 16 to 24 hours in advance․ Chill your ice cream mixture for at least 2 hours to achieve the optimal temperature․ Before pouring‚ confirm that the bowl is properly aligned with the machine’s base and the mixing paddle is securely in place․ Carefully pour the mixture into the bowl‚ avoiding overfilling to allow for expansion during churning․ Gently close the lid to prevent spills and ensure even mixing․ Start the machine and let it churn for the recommended 15 to 20 minutes‚ or until your desired consistency is reached․ After churning‚ promptly transfer the ice cream to an airtight container to prevent ice crystals from forming․ Keep the area clean and the machine on a stable surface to avoid any vibrations during the process․ For thicker mixtures‚ like custard bases‚ pour smoothly to prevent splashing․ Having a ready airtight container ensures your ice cream stays fresh and creamy․
Operating the Machine
Plug in the Cuisinart Ice Cream Maker and ensure it is placed on a stable‚ even surface․ Turn the machine on using the power switch‚ typically located on the base․ The mixing paddle will begin to rotate slowly‚ incorporating air and breaking down ice crystals for a smoother texture․ Allow the machine to run for the recommended 15 to 20 minutes‚ or until the desired consistency is achieved․ You may hear a slight grinding noise as the mixture thickens․ Keep the area around the machine clear to avoid distractions․ For thicker mixtures‚ the machine may slow down slightly‚ but it will continue churning effectively․ Once the cycle is complete‚ turn off the machine and carefully remove the lid to inspect your freshly made ice cream․

Monitoring the Churning Time
Monitor the churning process to ensure optimal results․ Most Cuisinart models require 15 to 20 minutes of churning․ As the mixture thickens‚ the machine may slow slightly․ Listen for a change in pitch‚ indicating the ice cream is ready․ Avoid over-churning‚ as it can make the texture too hard․ Stop the machine once the desired consistency is achieved‚ usually when the mixture resembles soft-serve ice cream․ Scrape down the sides if needed and transfer to an airtight container for freezing․ Proper monitoring ensures a smooth‚ creamy final product․
Stopping the Machine
Once the churning cycle is complete‚ typically after 15 to 20 minutes‚ turn off the machine․ Over-churning can lead to an overly firm texture․ When stopping‚ ensure the machine is switched off properly to avoid any accidental operation․ Carefully remove the bowl‚ as it may still be cold․ Transfer the ice cream to an airtight container and place it in the freezer to harden for a firmer consistency․ Properly stopping the machine and handling the components ensures safety and maintains the quality of your homemade ice cream․

Troubleshooting Common Issues

Common issues include soft or runny ice cream‚ often due to improper freezing or mixture temperature․ Ensure the bowl is fully frozen and mixture is chilled before churning․
Ice Cream Too Soft or Runny
If your ice cream turns out too soft or runny‚ it may be due to improper freezing of the bowl or insufficient chilling of the mixture․ Ensure the freezer bowl is completely frozen (no liquid sound when shaken) and the mixture is chilled for at least 2 hours before churning․ Over-churning can also lead to a softer consistency․ To fix this‚ always follow the manufacturer’s instructions‚ monitor churning time‚ and stop once the desired thickness is achieved․ Proper preparation and timing are key to achieving the perfect texture․
Machine Not Churning Properly
If the machine fails to churn properly‚ ensure the freezer bowl is fully frozen (no liquid sound when shaken) and that it is properly aligned with the base․ Verify that the mixing paddle is securely attached and the lid is tightly closed․ Check the power cord connection and ensure the outlet is working․ If issues persist‚ consult the manual or manufacturer support․ Proper assembly and pre-freezing are crucial for optimal performance․ Always follow the manufacturer’s guidelines to avoid operational problems and achieve smooth‚ consistent churning․
Maintenance and Cleaning
Regular maintenance ensures longevity․ Wash all parts with warm soapy water‚ rinse thoroughly‚ and dry․ Avoid abrasive cleaners․ Store components properly to prevent damage and maintain hygiene․
Post-Use Cleaning Tips
Clean your Cuisinart Ice Cream Maker immediately after use for optimal maintenance․ Wash the mixing paddle‚ lid‚ and freezer bowl with warm soapy water․ Rinse thoroughly and dry to prevent water spots; Avoid using abrasive cleaners or scrubbers‚ as they may damage surfaces․ Regularly check for any residue and clean it promptly․ For tougher stains‚ soak parts in warm water before scrubbing gently․ Ensure all components are dry before storing to prevent bacterial growth․ Proper cleaning ensures longevity and maintains the machine’s performance for future use․
Storage and Longevity
Proper storage is key to maintaining your Cuisinart Ice Cream Maker’s longevity․ After cleaning‚ ensure all parts are completely dry to prevent rust or mold․ Store the freezer bowl in the freezer when not in use‚ but only after it’s clean and dry․ Keep other components in a cool‚ dry place‚ away from direct sunlight․ Avoid exposing the machine to high humidity or extreme temperatures․ Regularly inspect parts for wear and tear․ By following these steps‚ you’ll extend the life of your ice cream maker and ensure it performs optimally for years to come․
Additional Tips and Recipes
Experiment with unique flavor combinations like matcha‚ lavender‚ or caramel to create distinctive ice cream varieties․ These tips enhance both creativity and the final product’s texture and taste․
Optimizing Consistency
To achieve the best texture‚ ensure your mixture is chilled for at least 2 hours before churning․ This prevents ice crystals from forming‚ resulting in a smoother consistency․ The freezer bowl must be completely frozen‚ which typically takes 16-24 hours․ Shake the bowl to confirm—it’s ready when no liquid movement is heard․ During churning‚ stop once the mixture reaches your desired consistency; over-churning can lead to a softer texture․ For mix-ins‚ add them toward the end of the churning process to maintain even distribution without breaking down the texture․ These steps ensure a professional‚ creamy finish every time․
Recipe Ideas and Variations
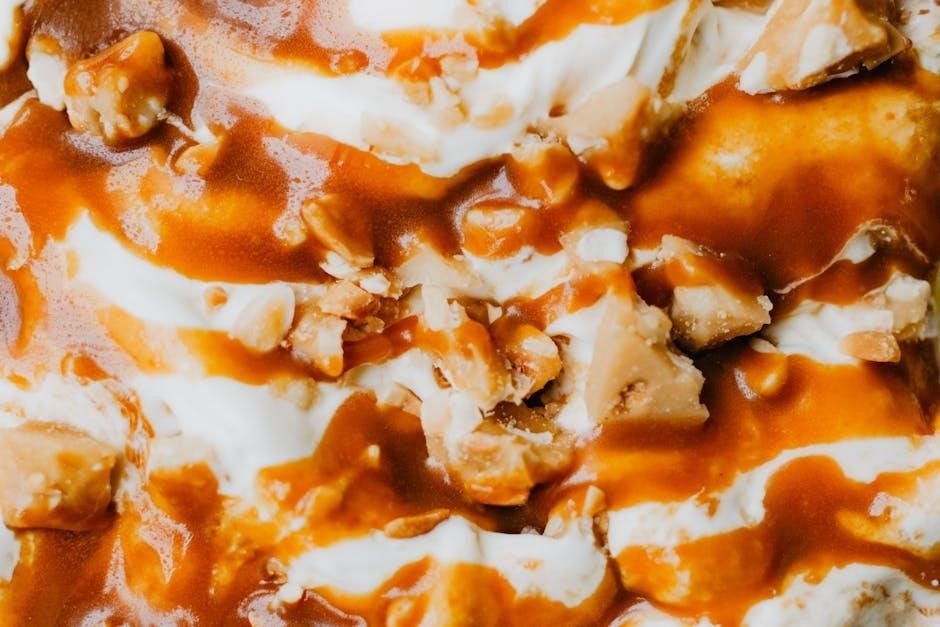
Experiment with unique flavors like classic vanilla‚ rich chocolate‚ or fruity sorbet․ Add mix-ins such as chocolate chips‚ nuts‚ or fresh berries for texture and flavor․ For a creamier texture‚ use whole milk or heavy cream․ Try unique combinations like espresso for a mocha ice cream or cocoa powder for a chocolate base․ Gelatin can be added to sorbet mixtures for a smoother consistency․ Melted caramel or honey can enhance sweetness naturally․ Always chill mixtures thoroughly before churning and avoid over-churning for the best results․ These variations ensure endless creativity with your Cuisinart Ice Cream Maker․
The Cuisinart Ice Cream Maker is a versatile and user-friendly appliance that empowers home cooks to craft delicious‚ custom ice cream with ease․ By following simple instructions and tips‚ users can achieve professional-quality results․ Regular maintenance ensures longevity‚ while creative mix-ins and flavors allow for endless experimentation․ Whether making classic vanilla or unique variations‚ this machine delivers memorable treats for every occasion․ With proper care and use‚ it remains a reliable tool for ice cream enthusiasts‚ bringing joy and satisfaction to the art of homemade desserts․